This was an idea that was recommended to me by my cousin. It's a fantastic idea that I took a little further and added magnets to the shelves and the pieces. I also added storage for the pieces on the sides of the board.
I like to start a chess set with lumber that is sized at 8/4 (eight quarters or two inches thick). That gives me a chance to dimension it at exactly 1 1/2 inches square by about 16 to 22 inches long.
The next step is to cover the piece with blue painter's tape. It helps when you remove the pattern later, and it also provides a lubricant to the saw blade as you cut the piece.
The pattern goes on next. I cut the pattern out long, and use the guide line down the center of the pattern to place it right on the edge of the piece of wood. I use spray adhesive and glue the pattern to the blank.
Now it's time to cut the piece. I use a jig to hold the piece every time I cut a chesspiece. It provides more grip, more weight and the jig makes it much easier to do the cutting.
Now, it's time to cut the piece. Take your time, be precise and use the tricks I discussed in the first chapter.
Now the it's my favorite time of all, open up the block and see what we made.
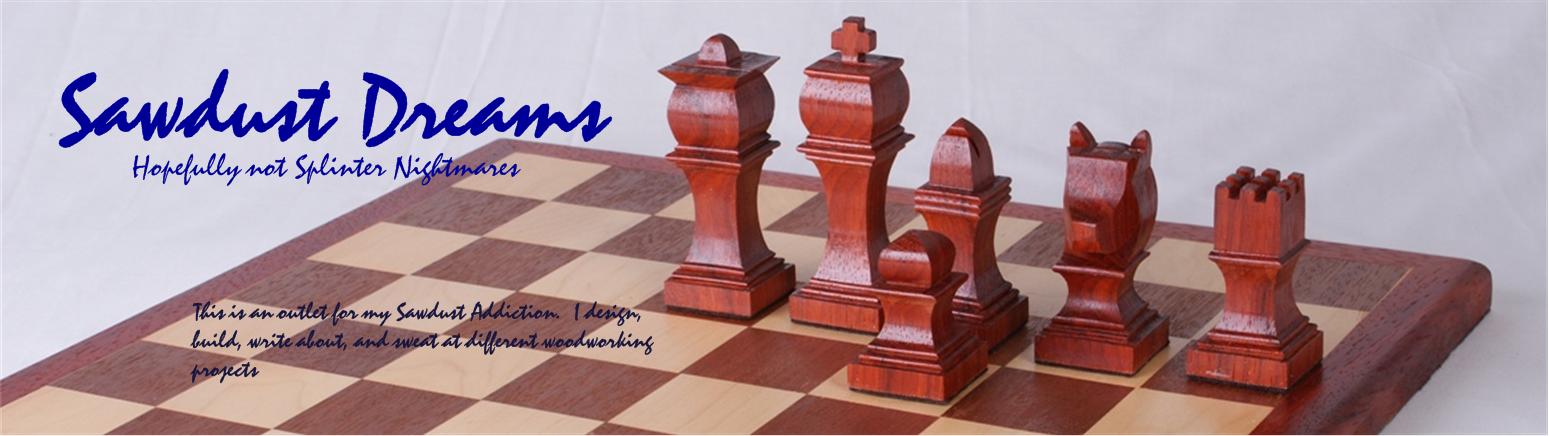
King Henry XIII is an icon in the history of England, not only for his wives, his religion, his excesses, but also for his progressive policies. It's fitting that we memorialize him in a chess set. The theme of the set is the general excess throughout the his court. The King and Queen have narrow collars, but large convex bodies. The Rook is modeled after a drinking goblet. All in all, it's an impressive, heavy, impressive set.
Sixty-four squares. That's it. Two colors, same size, alternating. Those are the requirements for a chessboard. It's simple. Yet it's not easy to make. The first decision is to find the two contrasting colors of wood, forget staining, and obtaining them.
Once you have the lumber, you have to cut them into 2 inch wide strips, 17 inches wide. This gives you space for the kerf you will cut in a little bit.
Once you have the 8 strips cut, glue them together edge to edge, using a gluing jig and waxed paper.
Then you cut the strips crosswise, this gives you 8 more strips that we glue with the alternating squares.
Well I bit the bullet and updated the tools in the workshop. I sold the two miter saws, the table saw, the scroll saw and some other odds and ends. I then bought the following new equipment
Dewalt 12" Miter Saw and Laser Attachment Dewalt Table Saw and mobile base Dewalt 788 Scroll Saw Grizzly 14" Drill Press Grizzly 1100CFM Air Filtration System
And other odds and ends.
I should get endorsement money from Grizzly and Dewalt
This blog and the contents are an outlet for my creative energies using a scroll saw. I am a pattern designer, for both 2 dimensional and 3 dimensional objects. I am a woodworker and love the wood I work with. I'm learning the differences in the wood and what will work and what wont. I will occasionally provide free patterns for scroll saw enthusiasts, but all will carry my copyright.
Just a guy gettin' by in this world. Family, cars, kids, hobbies, issues... the whole package. Look, life is complicated. It's messy, it will never be clean and pretty. So each of us have to deal with the hand we are dealt, and NOBODY get's dealt 4 of a kind.